
A few months ago I saw a picture of a beautiful headboard on Pinterest, but there were no design plans, so I made some myself. This headboard is very lightweight and just sits between the bed and the wall. It's also cheap and it only took me two hours to make. Enjoy!

Materials List:
1 - 1"x6"x6' Common Board (cut it in half length-wise)
3 - 1"x2"x8' Furring Strip
Round Reed - probably 20'-50'. I bought 1/4" round reed on Amazon. 5mm would work, as well.
You can buy it here.
Dimensions:

Cut List:
*Cut the 1"x6" in half length-wise to obtain two 2.25"x6' lengths
2 - 2.25"x55"
3 - 2"x55.5" (add pocket holes to each end)
2 - 2"x17" (add pocket holes to each end)
Directions:
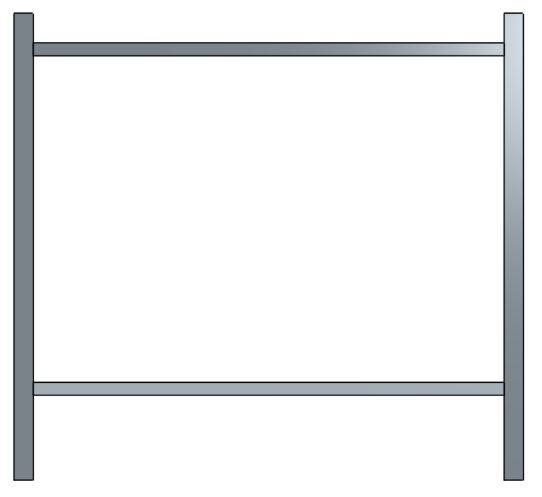
Step 1: Attach one 2"x55.5" piece between two 2.25"x55" pieces, 3.5" from the top.

Step 3: Attach the two 2"x17" pieces. Place them 17" in from either side.

Step 4: Attach the final 2"x55.5" piece below the two 2"x17" pieces. Sand all surfaces to make sure that the joints are smooth.


(Checking to make sure it fit right behind the bed)


Step 6: Stain or paint the headboard in your desired color. After staining you can add a little wood glue into each reed hole and reinsert the reeds to permanently hold them in place.

Ta-da! Here's the finished product. It's held up between the bed and the wall, and I placed a command strip behind each top corner to keep the headboard from jostling against the wall (I hate that) when getting in and out of bed.
